Editor Interface Basics - 03
Let's make things a bit cleaner.
Reusable Scenes
We can reuse things we’ve already created. This saves a lot of time - and performance too.
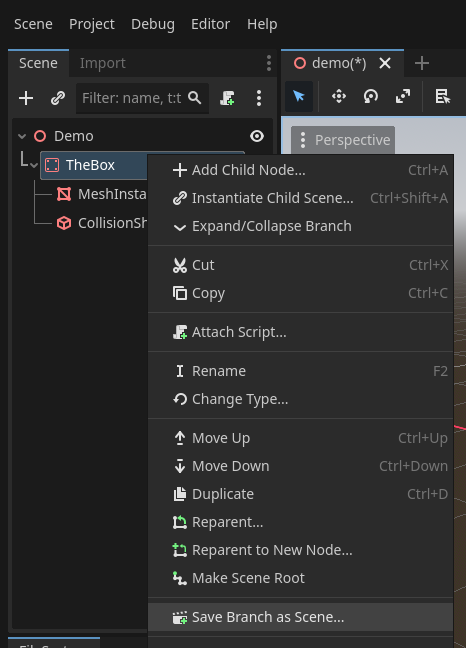
Let’s save TheBox node as a separate scene.
To do that, right-click on it,
then click Save Branch as Scene from the dropdown.
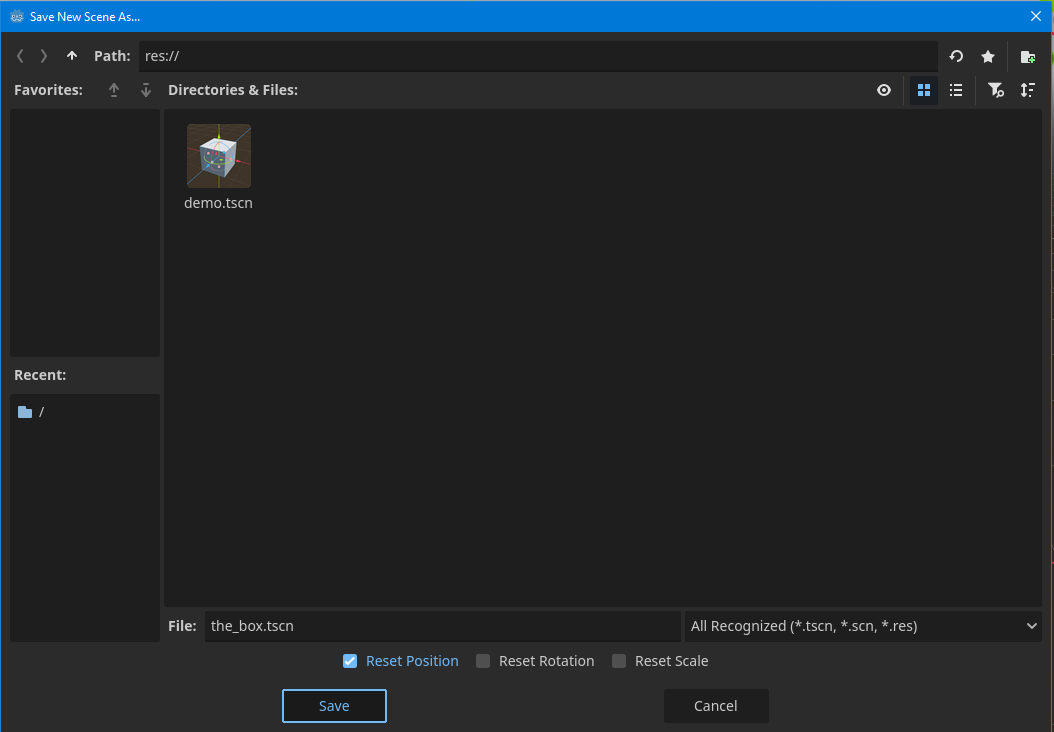
Next, you’ll see this window. You can rename it, but let’s keep the suggested name and hit Save.
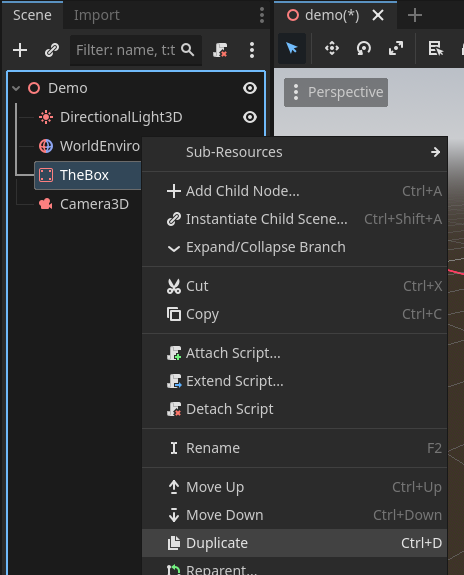
Now it collapses into a single node.
We can easily duplicate it.
Right-click on it and choose Duplicate,
or just select it and press Ctrl + D.
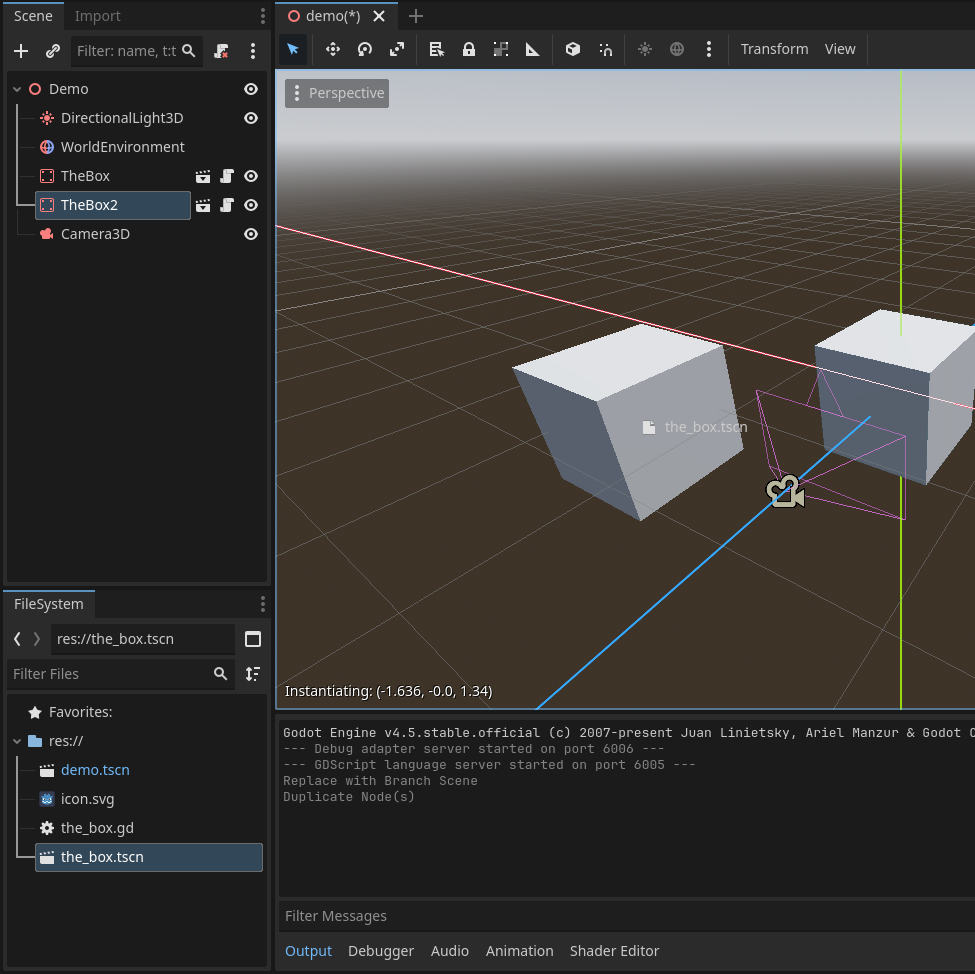
This creates two boxes stacked on top of each other,
so let’s move one by dragging the arrows.

There’s another way to reuse it too.
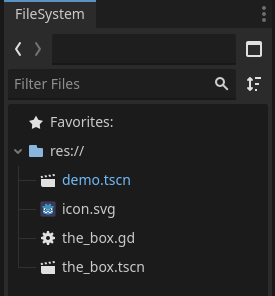
Since we made it a scene, you can see it in the FileSystem panel.
Just drag and drop it from there into the viewport.
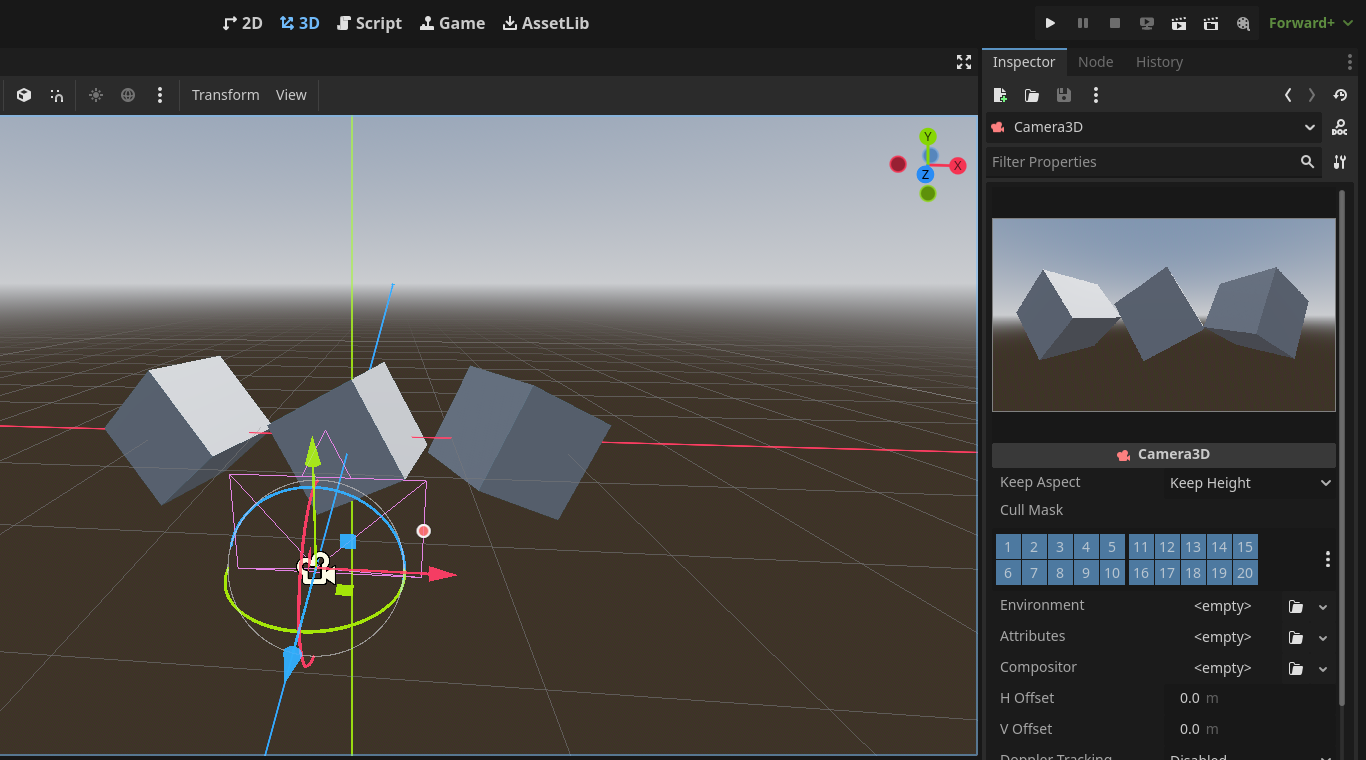
Now I’ve changed their positions and rotations.

Next, move the camera while checking the preview in the Inspector.
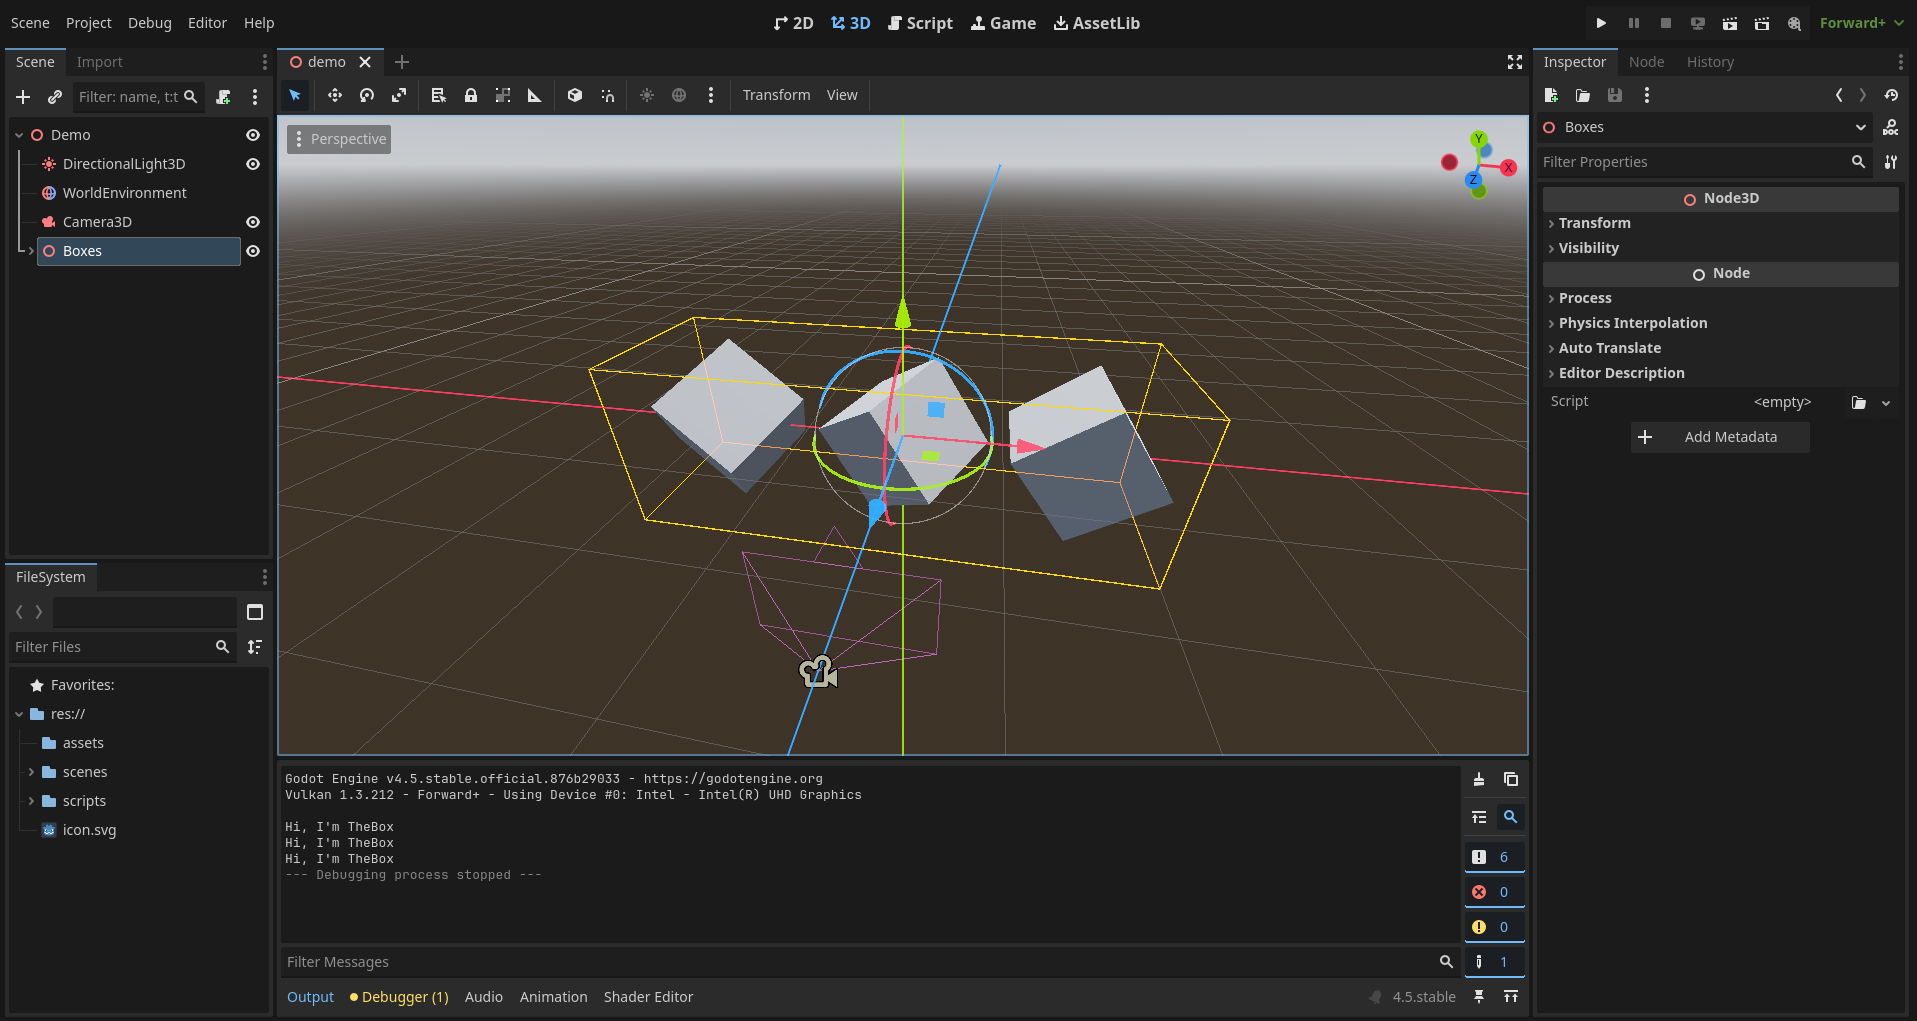
Organize Things
Now, take a look at your Scene panel.

It looks a bit messy, right? Let’s fix that.
Add a new Node3D and rename it to “Boxes.”

Next, we’ll make our TheBox nodes children of the Boxes node. To do that:
Hold Ctrl and click on both TheBox nodes,
then drag and drop them onto the Boxes node.
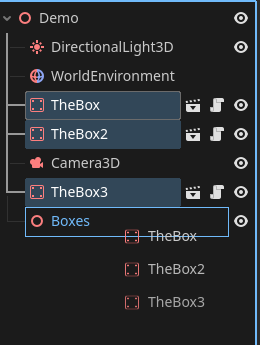
Now it looks like this:

As we discussed earlier, Boxes is now the parent of the TheBox nodes.
This process is called reparenting.
You can also do it another way:
Select the nodes, right-click, and choose Reparent to New Node.
Then a window will appear where you can select the node type.
That way, you don’t need to create the “Boxes” node beforehand.
In Godot, there are many ways to get things done - like what we just did.
As you get familiar with the engine, you’ll naturally pick your preferred methods.
Don’t try to memorize everything. What matters most is practice!
You may have noticed this before -
you can expand or collapse nodes using these little arrows.

Seems like a simple trick, right?
Yes, but when your project grows large with many nodes, this helps you stay organized and focused.
Also, by grouping things like this, you can easily move, rotate, or scale all three boxes at once by using the parent node.

And by toggling the eye icon, you can show or hide nodes.

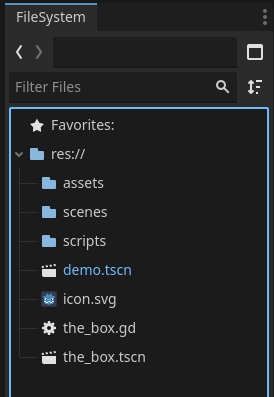
Organize the FileSystem
Take a look at your FileSystem now. It can be organized too!
Right-click on the res:// folder, then select Create New → Folder.
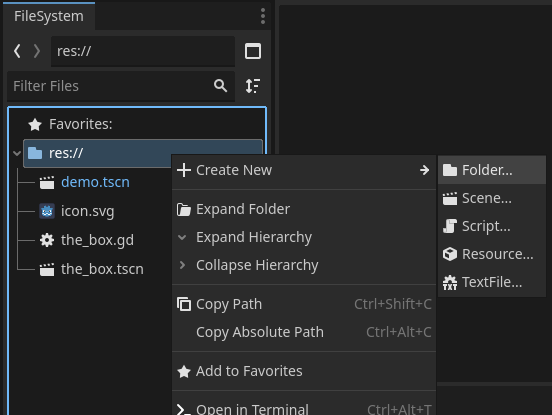
Name it scenes.

Then create two more folders named assets and scripts.
Next, select both demo.tscn and the_box.tscn (hold Ctrl)
and drag them into the scenes folder.
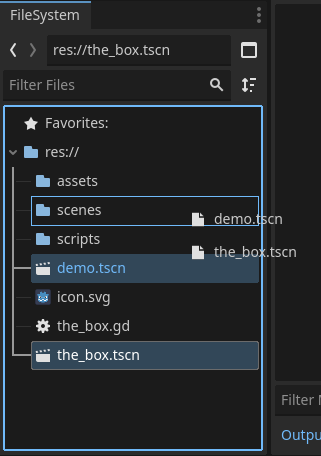
Finally, move the .gd file into the scripts folder.

End of Basics
That’s it for the basics!
You’re now ready to start building the walking simulator.
We’ll use this same project for it.
Try new things - even if they seem a bit crazy.
This isn’t your dream game yet, so take risks!
If something breaks, don’t worry - just delete it and make a new project.
Experimenting is how you truly learn.
Congratulations on finishing the basics!
Can’t wait to move on to the walking sim with you - see you there!